Below are some important notes to follow when uploading your design for custom acrylic ornaments:
1. The printer cuts along the outer edge of your design. If you want a fixed shape (like a square, circle, heart, etc), please add a shape outline around your design..png?width=688&height=344&name=Design%20(2).png)
If your design has a custom shape without any outline border, the printer will cut along that shape (Make sure the background is transparent).
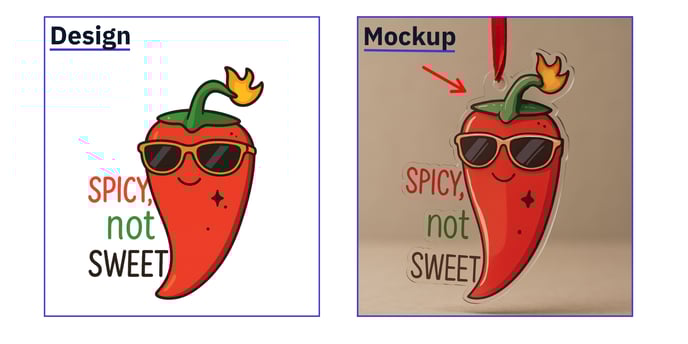
 2. Do not include the hanging hole in your design file.
The printer will automatically add a hole at the top center of the ornament.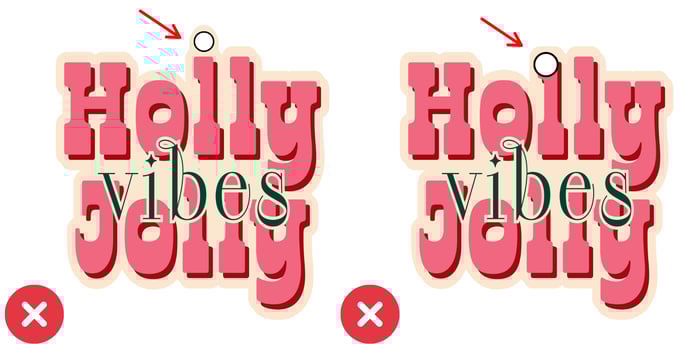
3. The printer leaves a 0.1"–0.2" offset path of clear acrylic around the printed design.
Make sure the mockup on your store displays this clear acrylic border effect to reflect the final product correctly (NO need to add this acrylic border in your design file).