How to use the collections features
This feature will save tons of time for who want to design the same items across multiple shops.
In This Section:
-
How to Create Collections
-
How to Deploy Collections
Feature Description:
The Collections feature allows users/teams to build out pre-selected groups of items, set said items with specific templates, name said group of items and then quickly deploy this group of items in the designer.
Use Case:
This feature will save tons of time for teams/users that tend to design the same items across multiple shops (or clients). By utilizing Collections, users no longer need to select each item from the short form catalog to add to the design queue but rather import their desired collections.
How to Create Collections:
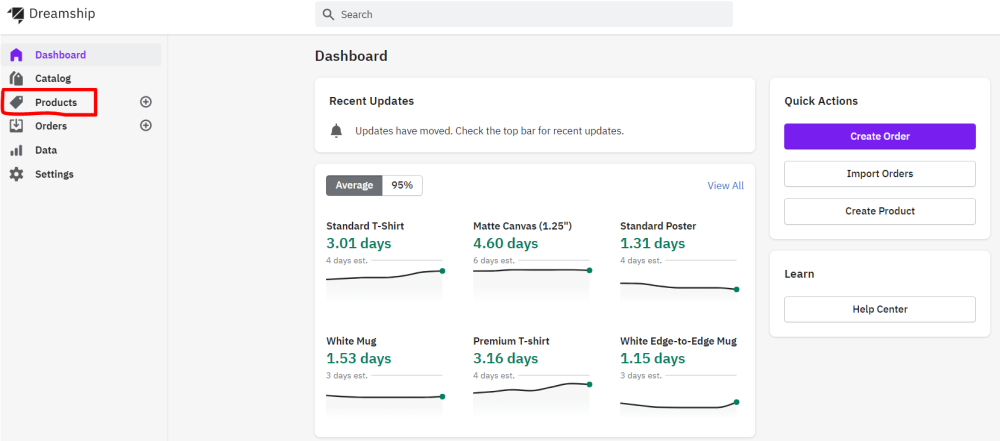
1. Click "Products"
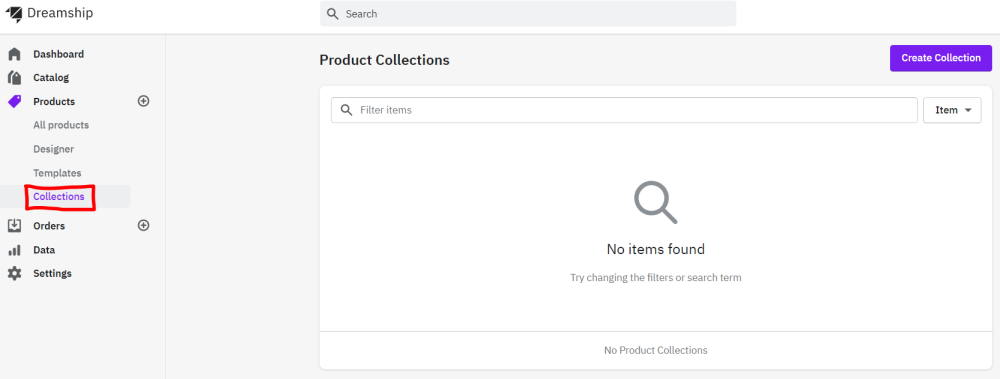
2. Click "Collections"
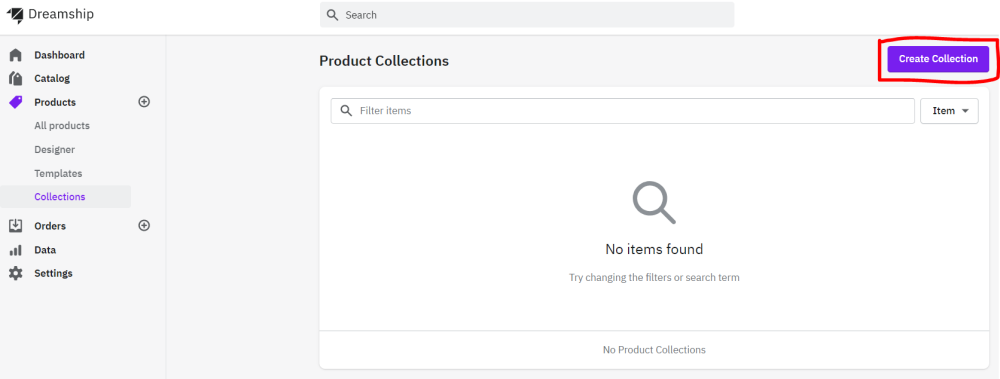
3. Click "Create Collection"
4. Name collection (i.e. “Onboarding”) & click "Create"

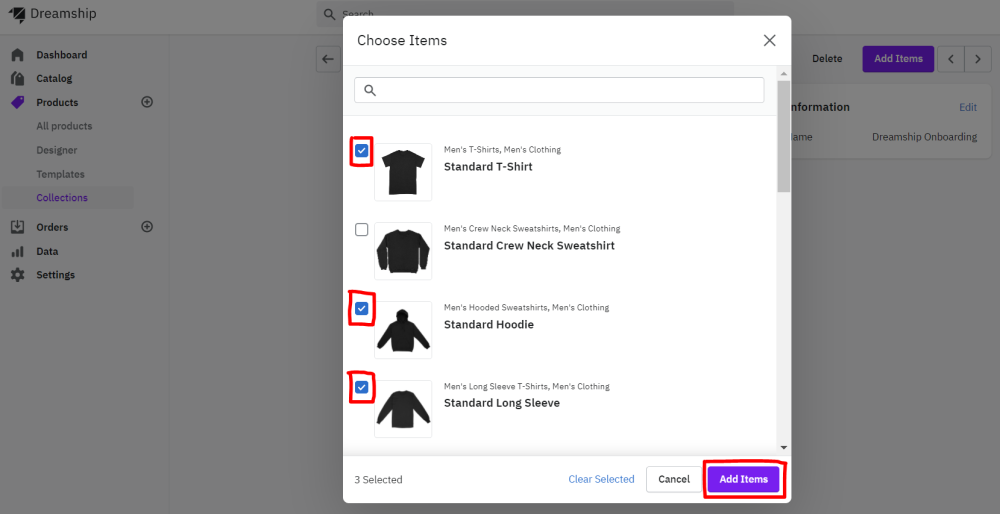
5. Click "Add Items"

6. Select which items to add to your collection. Once finished, click "Add Items"
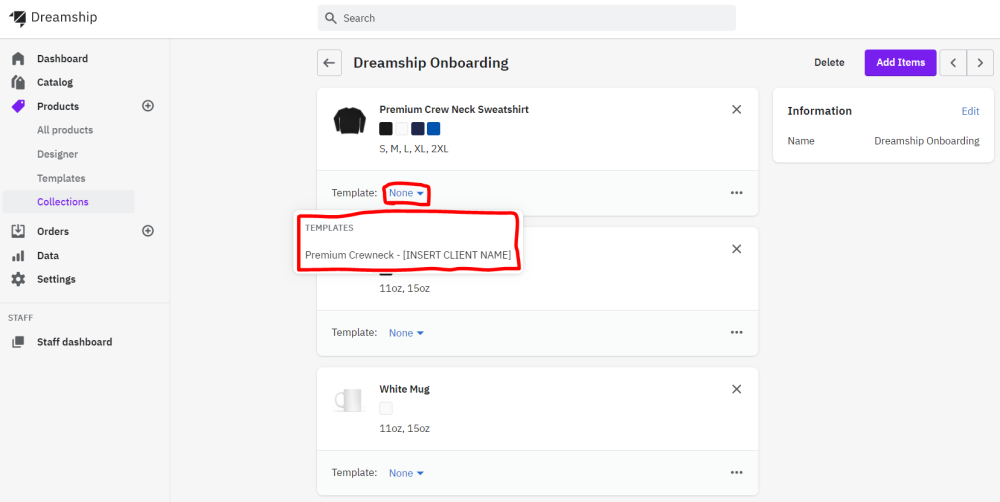
7. Select template to associate with each item in your collection *Note - this step requires building templates for each item in the collection. Templates allow users to standardize the data inputs of product (i.e. the colors offered, names, descriptions, prices) and exponentially speed up the design process. See HERE for a support article on how to create templates.
How to Deploy Collections:
-
Open the designer
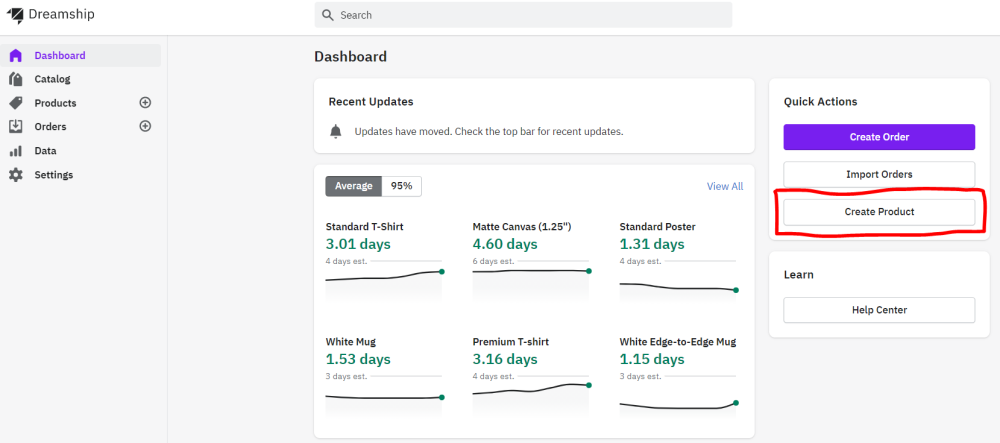
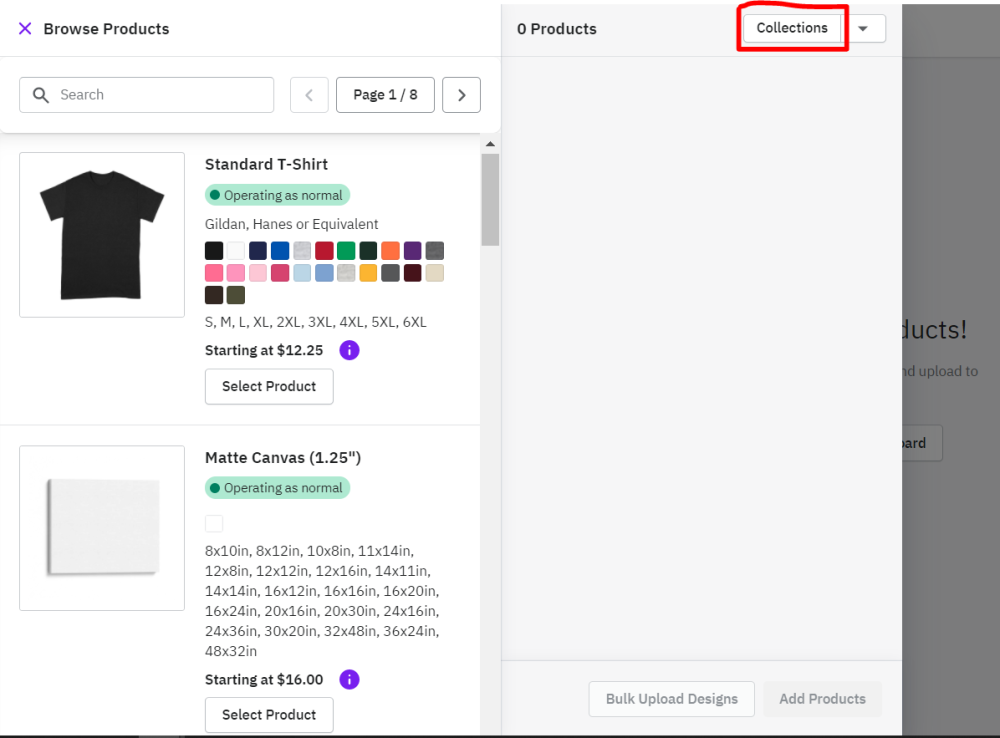
2. Click "Collections" at the top right hand corner of the design queue
3. Select desired collection & click "Import Collections"
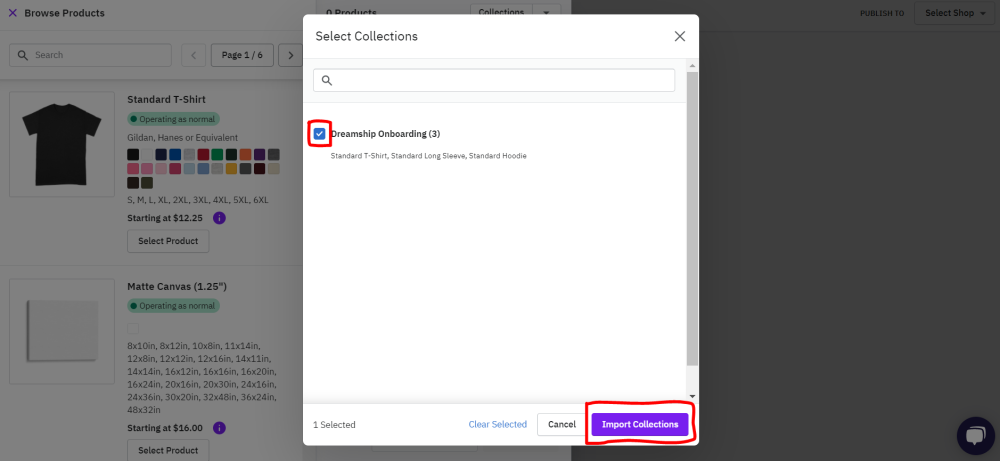
Once imported, items associated with your desired collection will import into the design queue with their respective product templates pre-selected. From here, you would simply go through your normal design flow.